Objective
The objective is to install the latest Eclipse on Ubuntu 18.04 Lts
Install Java
Before Proceeding with eclipse installation you need to ensure that the java is installed on Ubuntu.
$ java -version
openjdk version "1.8.0_222"
OpenJDK Runtime Environment (build 1.8.0_222-8u222-b10-1ubuntu1~18.04.1-b10)
OpenJDK 64-Bit Server VM (build 25.222-b10, mixed mode)
Use the java -version command to check the installed java version on the machine
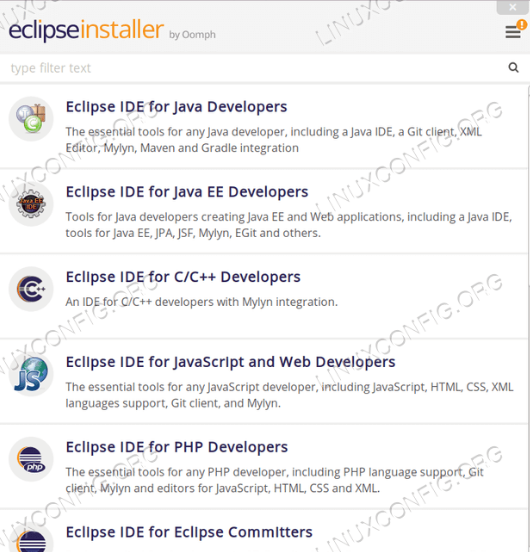
Download Eclipse Oxygen Installer
Use the wget command to download the latest Eclipse Oxygen IDE or use your browser to a select different mirror:
$ wget https://www.eclipse.org/downloads/download.php?file=/oomph/epp/oxygen/R2/eclipse-inst-linux64.tar.gz&mirror_id=105
After the eclipse has been installed use the tar command to unzip it. Before running it move to the download location where the tar file has been downloaded.
$ tar xzf eclipse-inst-linux64.tar.gz
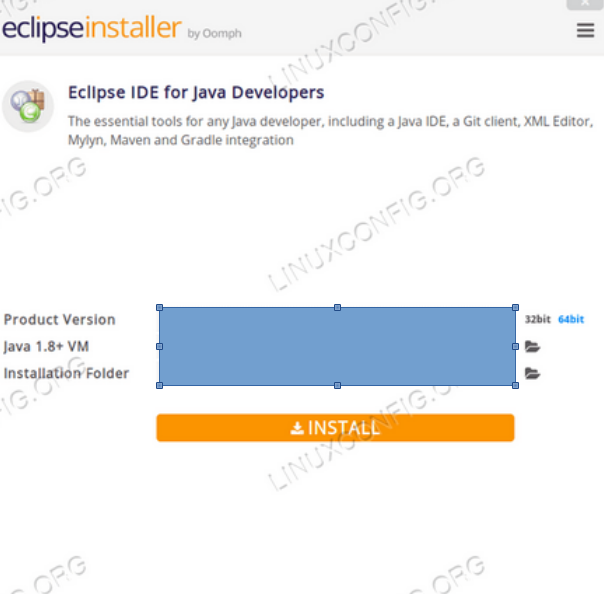
Eclipse Oxygen Installer
Now move to the location where the file is unzipped and start the installer by using the below mentioned command:-
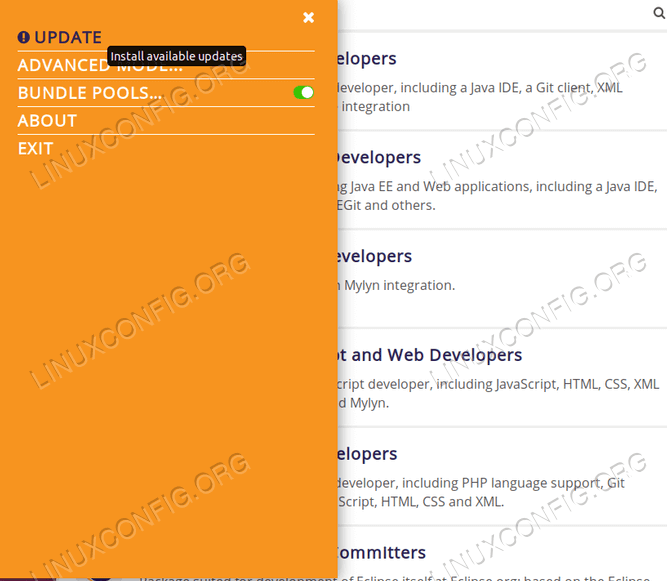
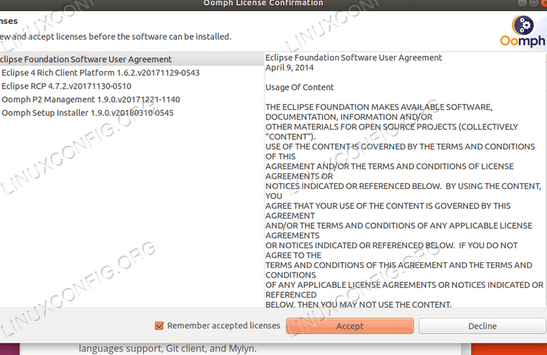
$ ./eclipse-installer/eclipse-instAfter that the pop up will open and just follow the instructions. It’s easy.
If you stuck during this installation phase just comment in the below section.
Enjoy the eclipse !!!